Why do Writers Choose Scrivener Writing Software?
Writers — from first-time authors to seasoned non-fiction writers and best-selling novelists — recognize Scrivener‘s writing software as the go-to-app for tackling everything from research papers to stage plays to a short story.

Below, I’ll show you just a few reasons Scrivener is a powerful tool that can turbo-charge your writing process from the first draft to the final draft.
- Scrivener’s powerful organizational structure.
- Scrivener’s functionality in the writing, editing, and compiling stages.
- Scrivener’s powerful search capabilities.
- Scrivener templates.
This post contains affiliate links, including links from the Amazon Associates programs. These links will direct you to products I recommend for further exploration and enjoyment of the topics I cover on my website and in my lectures. See more in the Privacy Policy below.
What do Writers Need From Writing Software?
Regardless of the genre you write in, writing demands organization. The aspiring author has to wrangle research material that may contain numerous different documents and web pages, as well as primary sources, quotes, and random ideas.
While Microsoft Word is a powerful word-processing program, it doesn’t offer this kind of organizational capability.
Scrivener does.
Scrivener’s Organization
Scrivener comprises three sections: The Binder, The Editor, and the Inspector.
The Binder on the extreme left of the screen is a simple ring-binder metaphor. Here you can see your project in different scenes or separate sections, set up by you in separate files and folders. These may represent chapters, parts, sections, scenes, or story beats — whatever you need. You can expand or contract the binder contents as needed in your writing process.
The Binder also allows you to move sections around, copy sections, or delete sections. Scrivener makes it easy to import WORD files or copy and paste projects begun in Google Docs.
The Binder’s trash collection only empties on demand, ensuring that your discarded sections are still available if needed. A rich treasure trove of cutting floor gems often lies in the Scrivener trash folder!
This unique organizational structure allows you to move with ease through your manuscript.
Track your progress using color-coded flags or highlight the nature of sections with other icons. It is entirely up to you how you customize the binder.
The Binder’s Research Section includes templates for character development and setting worksheets for fiction. It also allows you to drag in research materials as web pages or background material, allowing you easier access to all of your research material.
In Scrivener’s updated 3.0 version, the powerful new Bookmarks Feature allows even more linking within the document and across your research information.
While the Binder is the key to keeping track of your projects, sometimes you want to create a distraction-free environment as you compose or edit. The full-screen Composition Mode (View > Enter Composition Mode) allows you to hide the binder and just see your work in progress.
Scrivener’s distraction-free Composition Mode
The Editor
The next section of Scrivener is The Editor, in the center part of the screen. This is where you do the actual writing, and it is where you can access your work in progress in several formats.
Scrivener knows writers are fussy about things like a favorite font, screen width, colors, and formatting, and that’s why they offer a ton of options to customize The Editor so that you feel fully comfortable with your writing process.
The Editor also offers a fast track to formatting a document for its final compile in the styles function, on the extreme right of the Editor’s top menu bar. These will ensure that the final formatting of the manuscript is consistent.
One of the more powerful aspects of the editor is its three separate views, which allows you a range of planning and plotting tools that are not available in Microsoft Word.
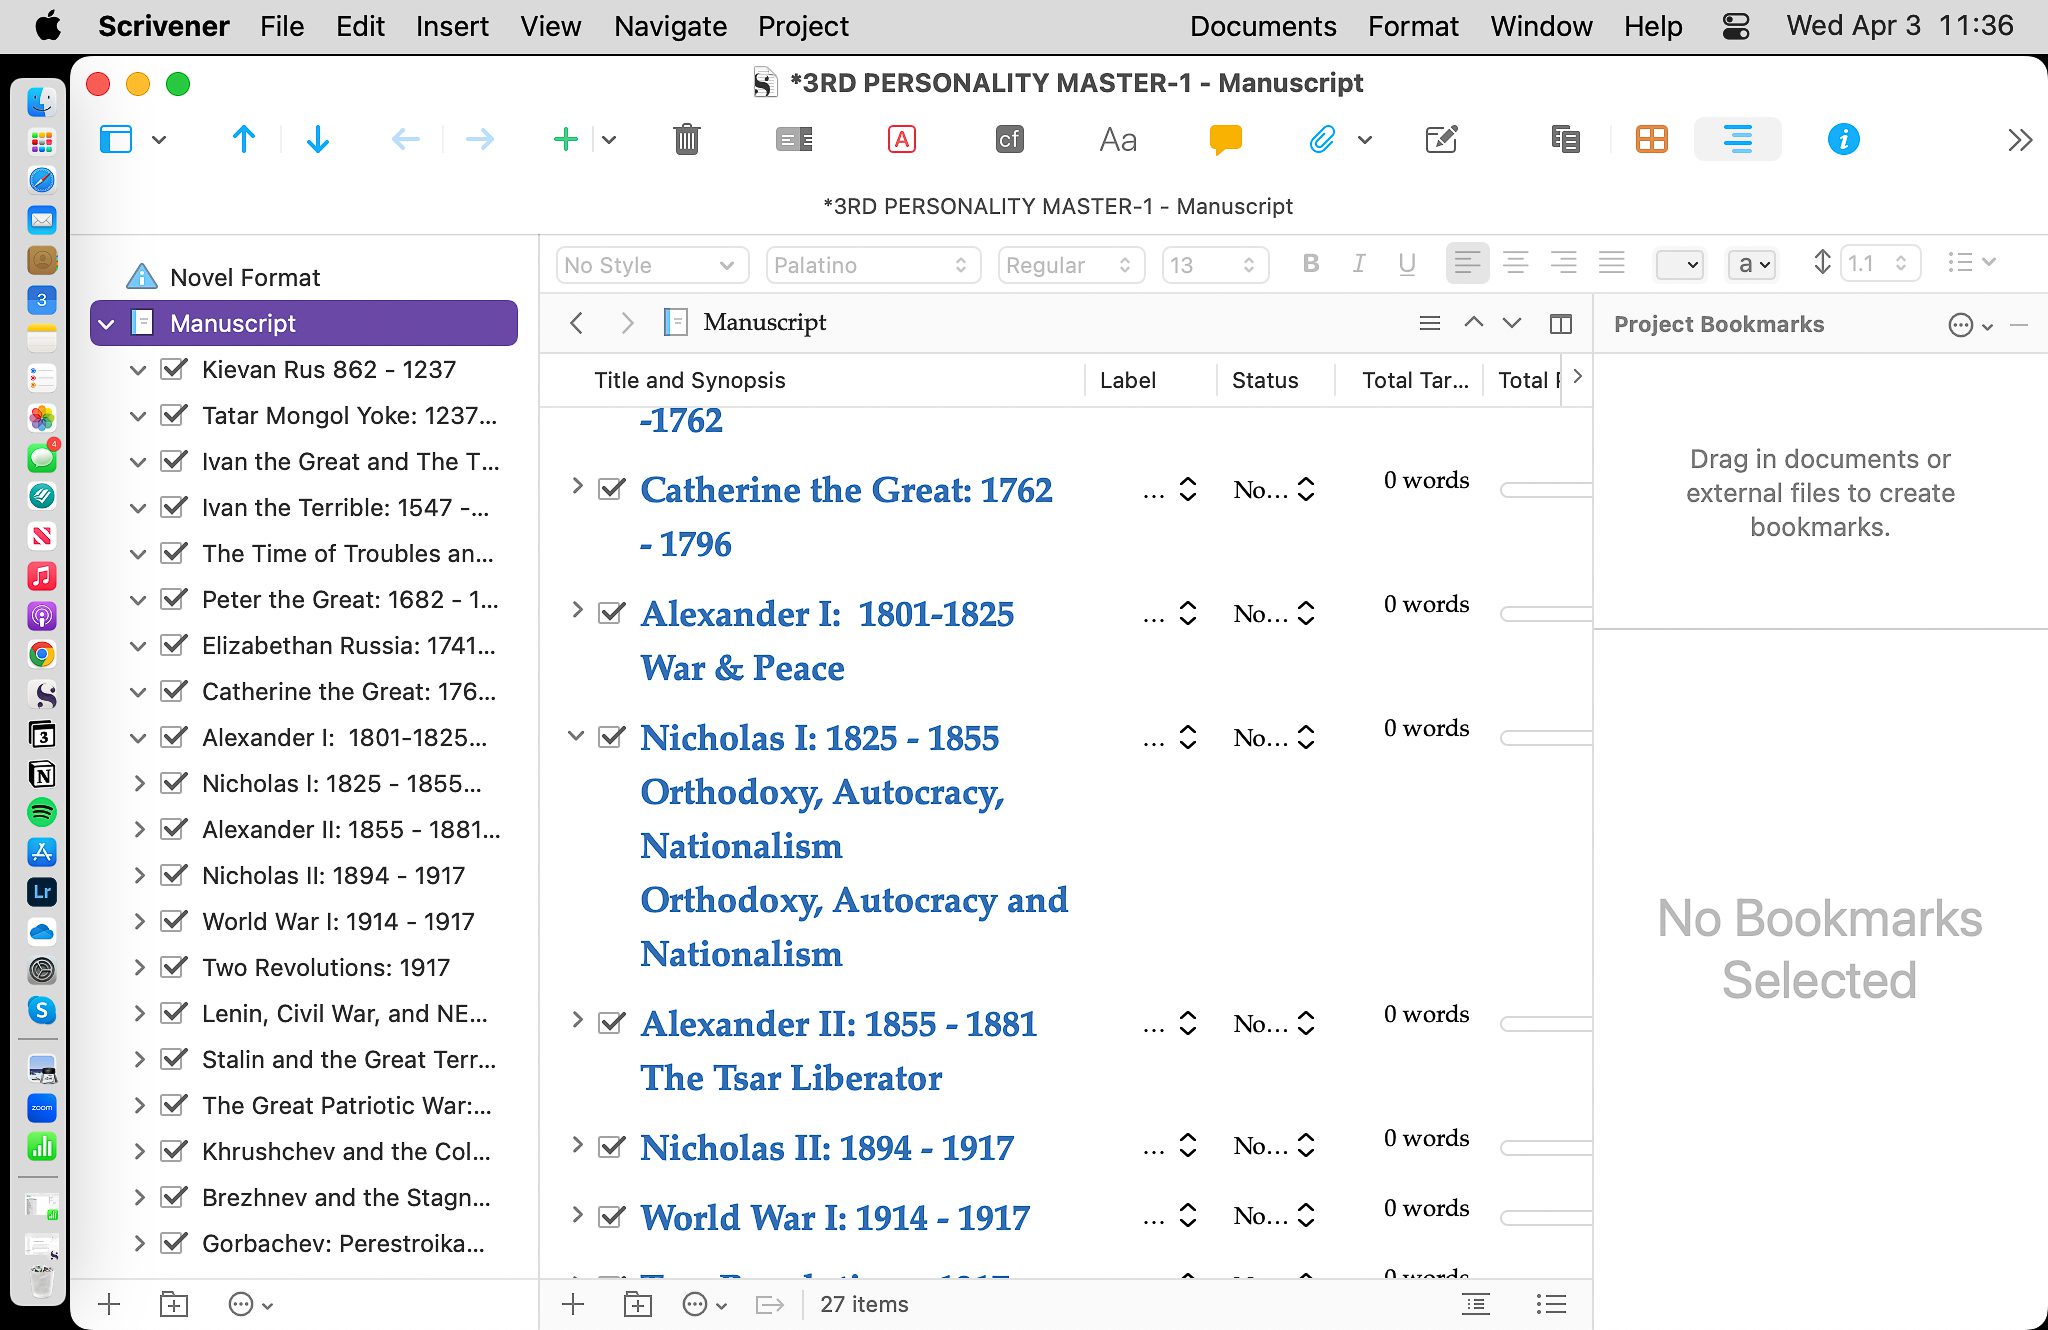
The Corkboard View allows you to see your project in an outline form that mimics index cards on a corkboard. This gives you a high-level view of your project that is helpful both in the initial planning stages of your writing project and when you are grappling with structural edits.
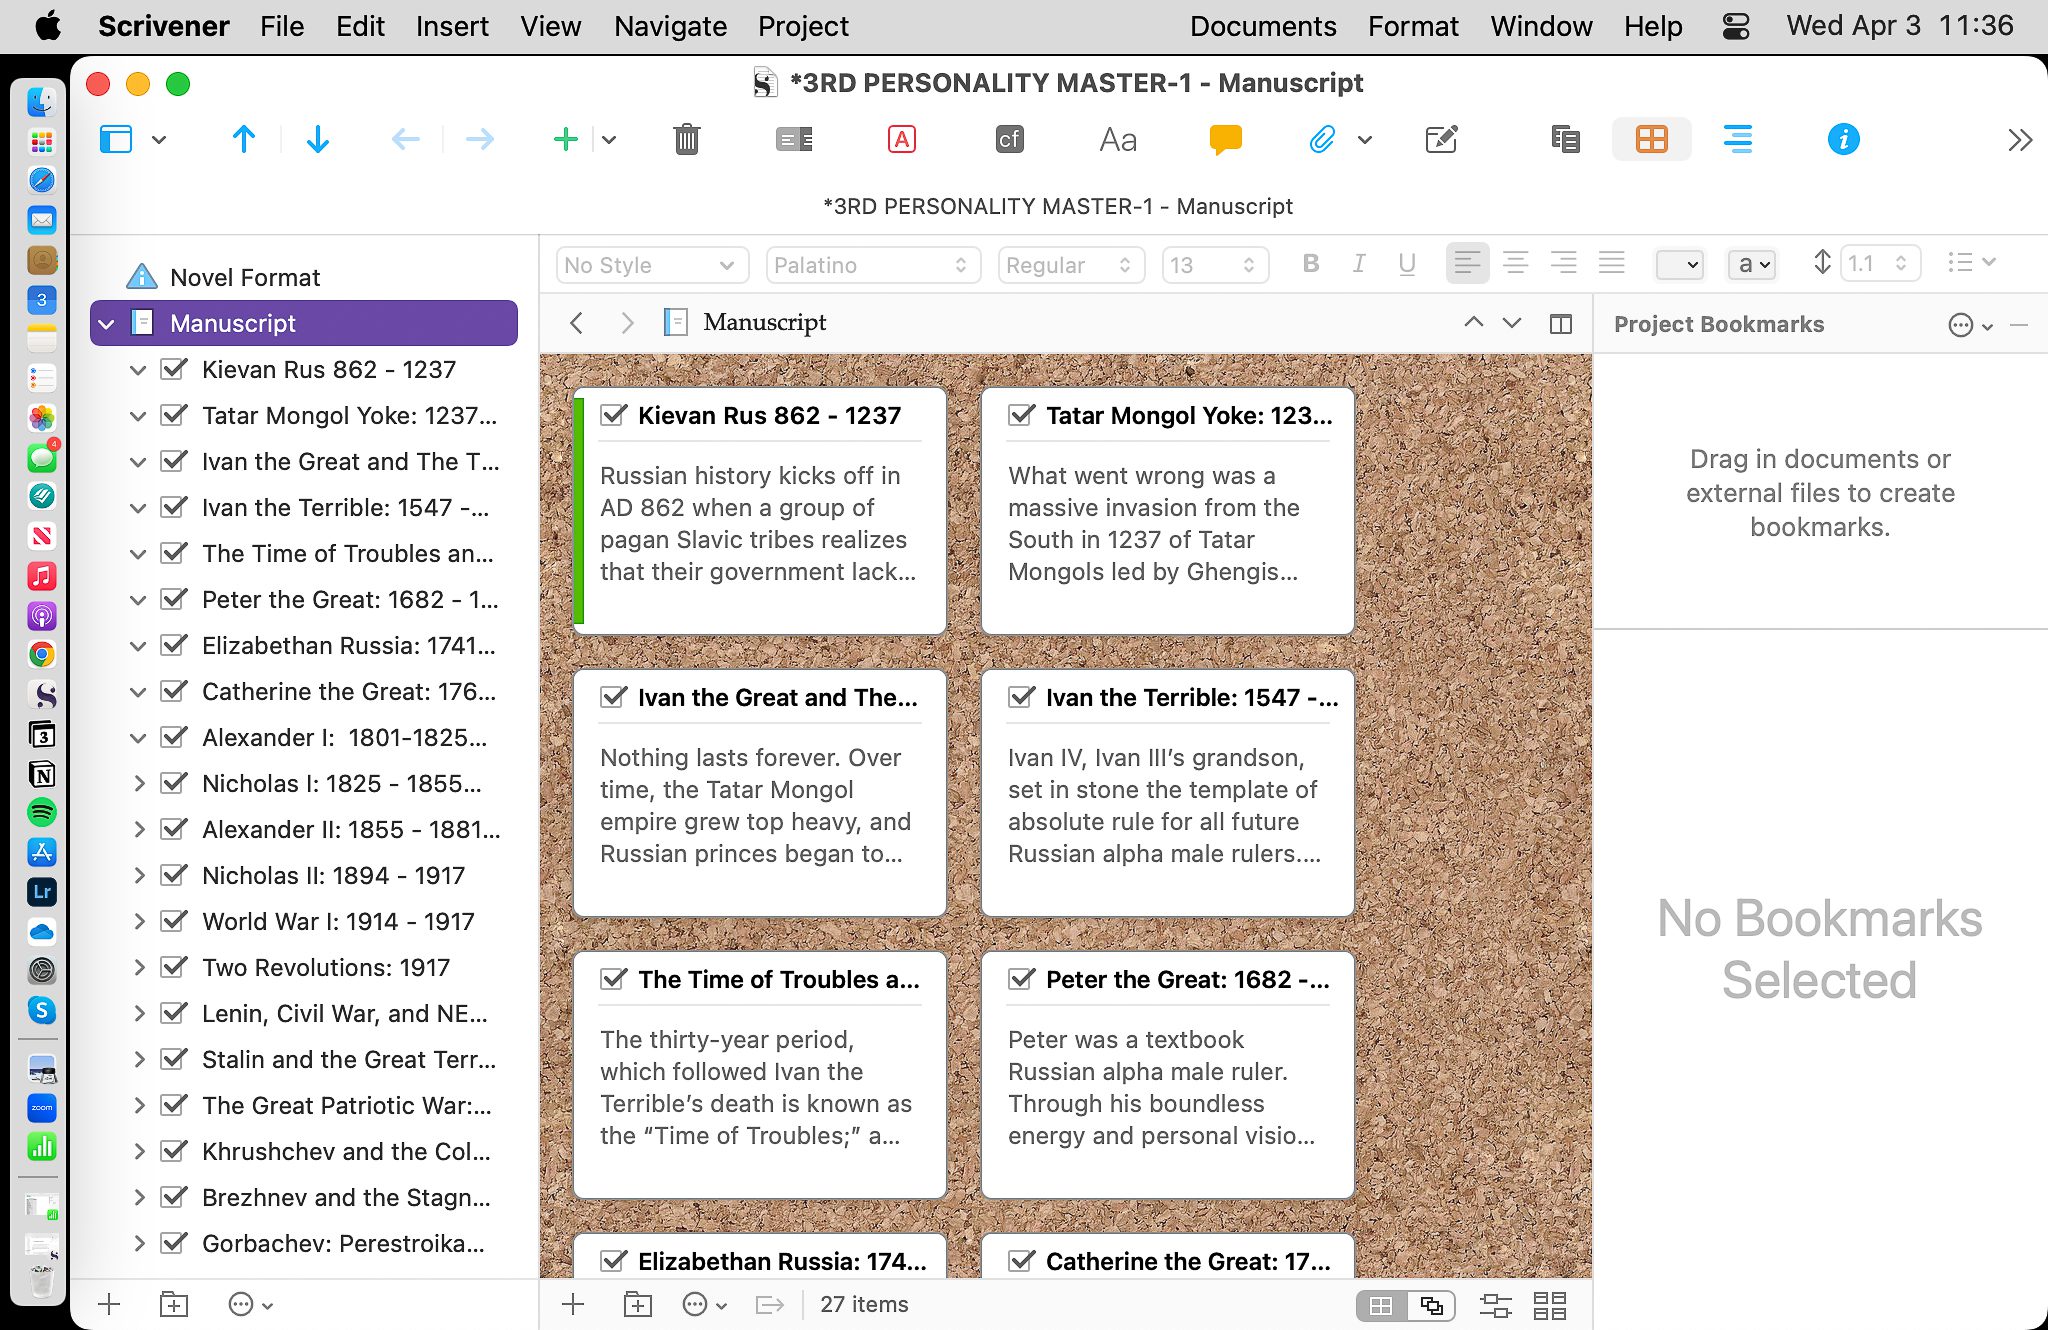
Scrivener’s Corkboard View in The Editor
The Outline View shows the flow of your work in progress. Writers who are plotters like to begin the writing process with a detailed outline and then write from it.
The Manuscript View allows you to see the contents of each file, or the entire manuscript or chapter, depending on which file or folder you click on in the Binder. This is a great way to focus on one particular chunk of your writing or review the entire work as a whole.
What makes Scrivener different is that you don’t have to write and rewrite. You write once, then toggle between the three views.
Scrivener’s Outline View in The Editor
The Inspector
The Inspector is located to the extreme right of the screen.
The Inspector provides the tools to help you further organize your work in progress at the manuscript and file level.
The Inspector comprises five powerful tools, represented by icons at the top of the column.
Synopses and Notes
This is a place you can provide a synopsis of events in a particular chapter, scene, or section. This is the information that appears on the index card in corkboard mode. You can also add notes as you write and edit, which will always be handy as you move through the sections in the binder.
Bookmarks
Bookmarks are a powerful new tool in Scrivener, which allows you to link within the manuscript across sections of the binder. This has all kinds of uses in the editing and rewriting phase, as well as the research and development part of your writing process.
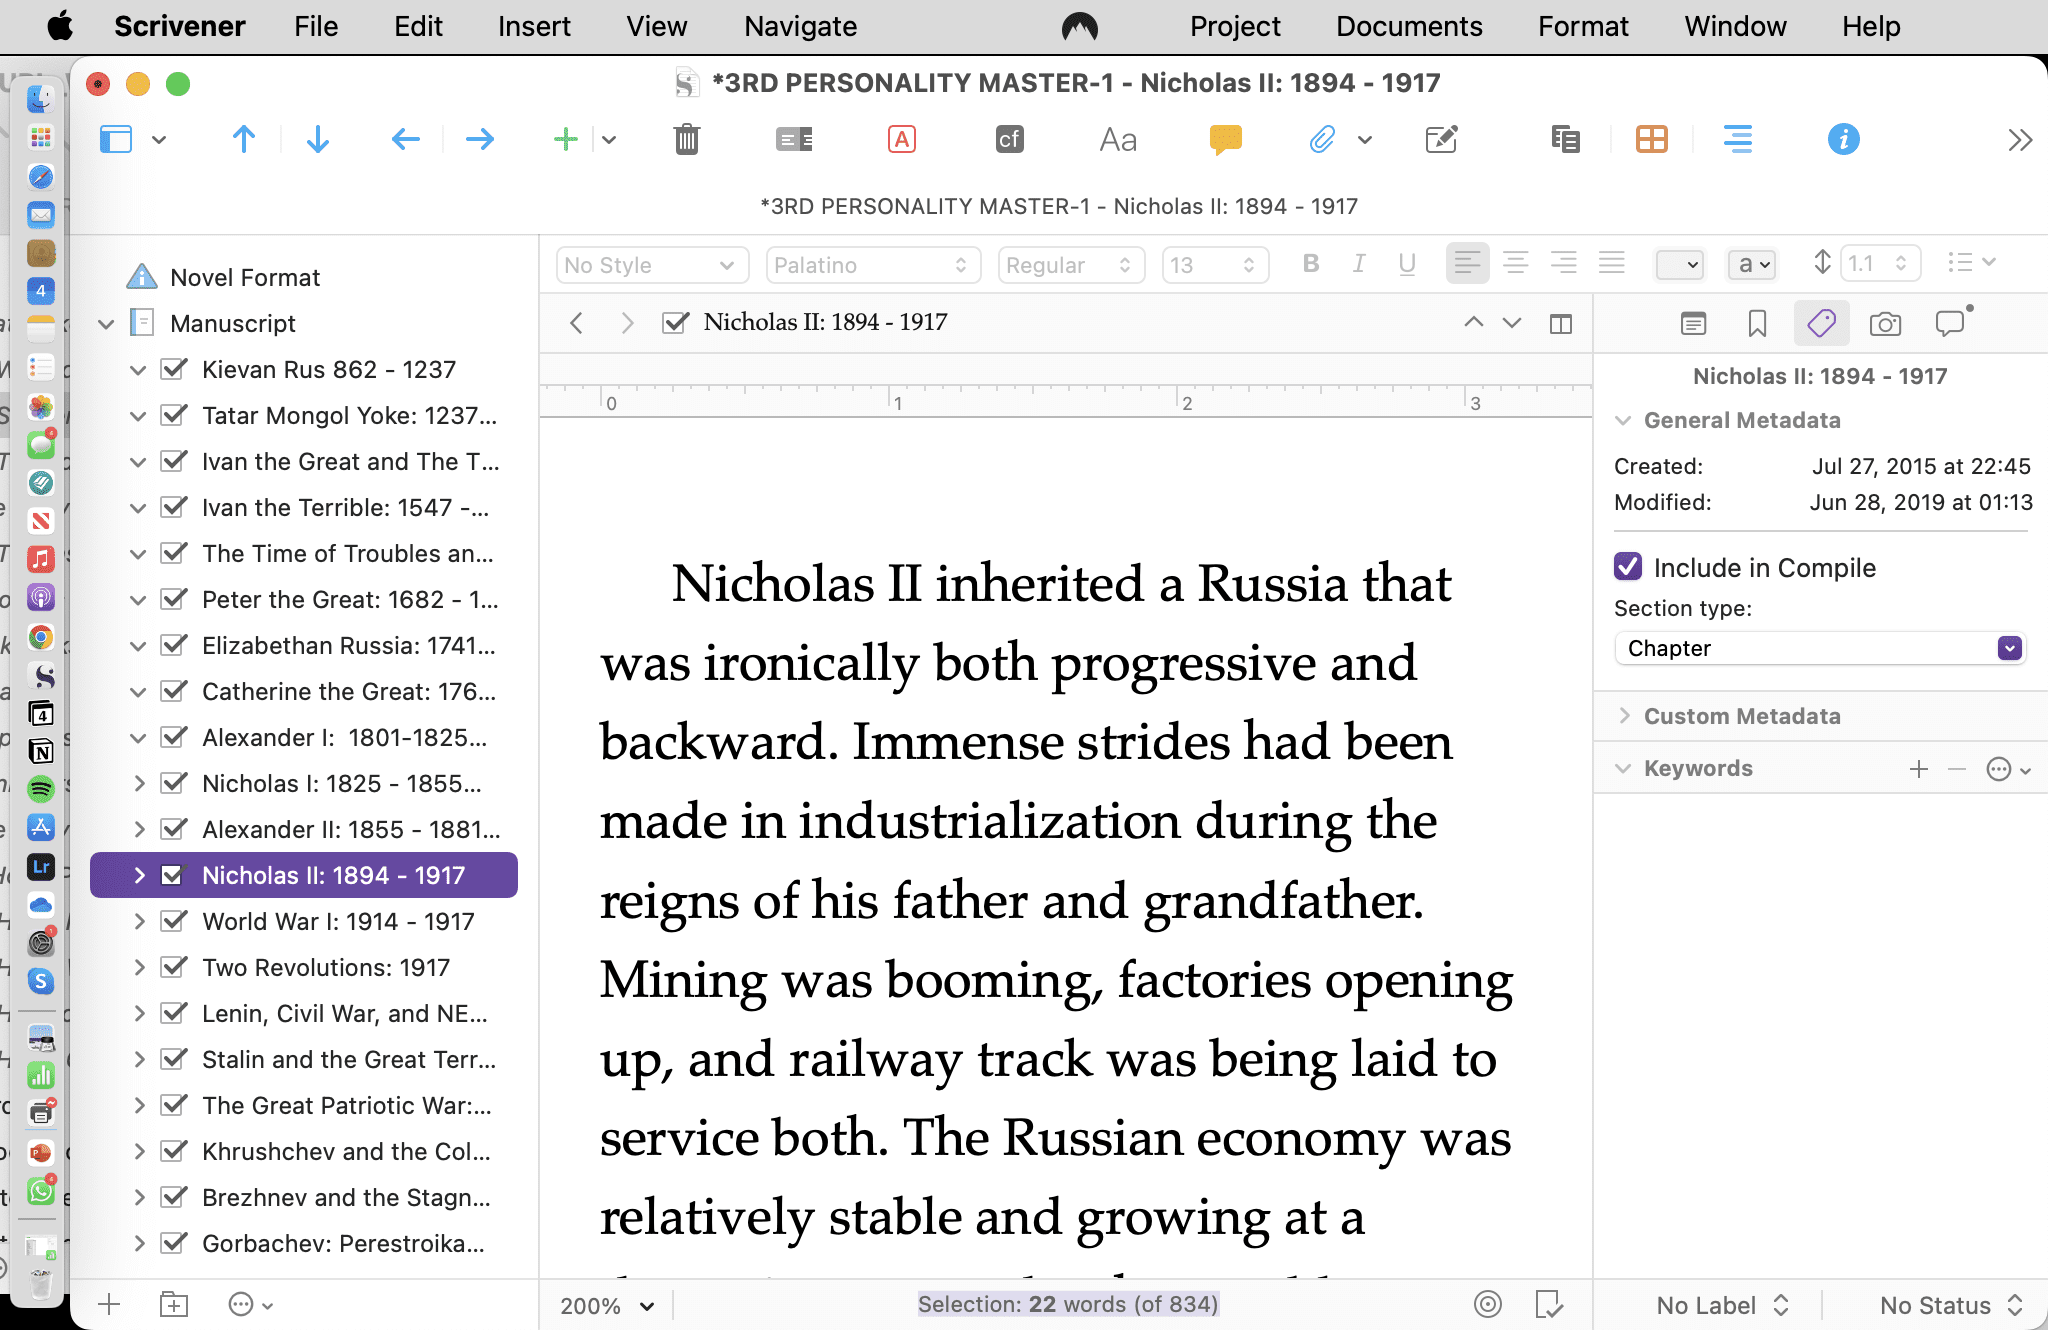
Metadata
If you enjoy employing digital tools and organizational hacks in your writing, you will love the metadata section of the inspector.
You can use the preset metadata in the inspector such as the timestamp and the checkbox to show whether the section is to be included in the final manuscript, but where the metadata magic really happens is when you add custom metadata that can denote anything needed in your project. You might use this to show different points of view, various settings, or characters.
Snapshots
Do track changes drive you crazy? Me too. That’s why I love Scrivener’s snapshots. When I’m in editing mode, I take a snapshot of each revision, so that if I need to, I can refer to the original. This way, I never lose anything in my manuscript that might prove useful as I reach the end of the four stages of editing.
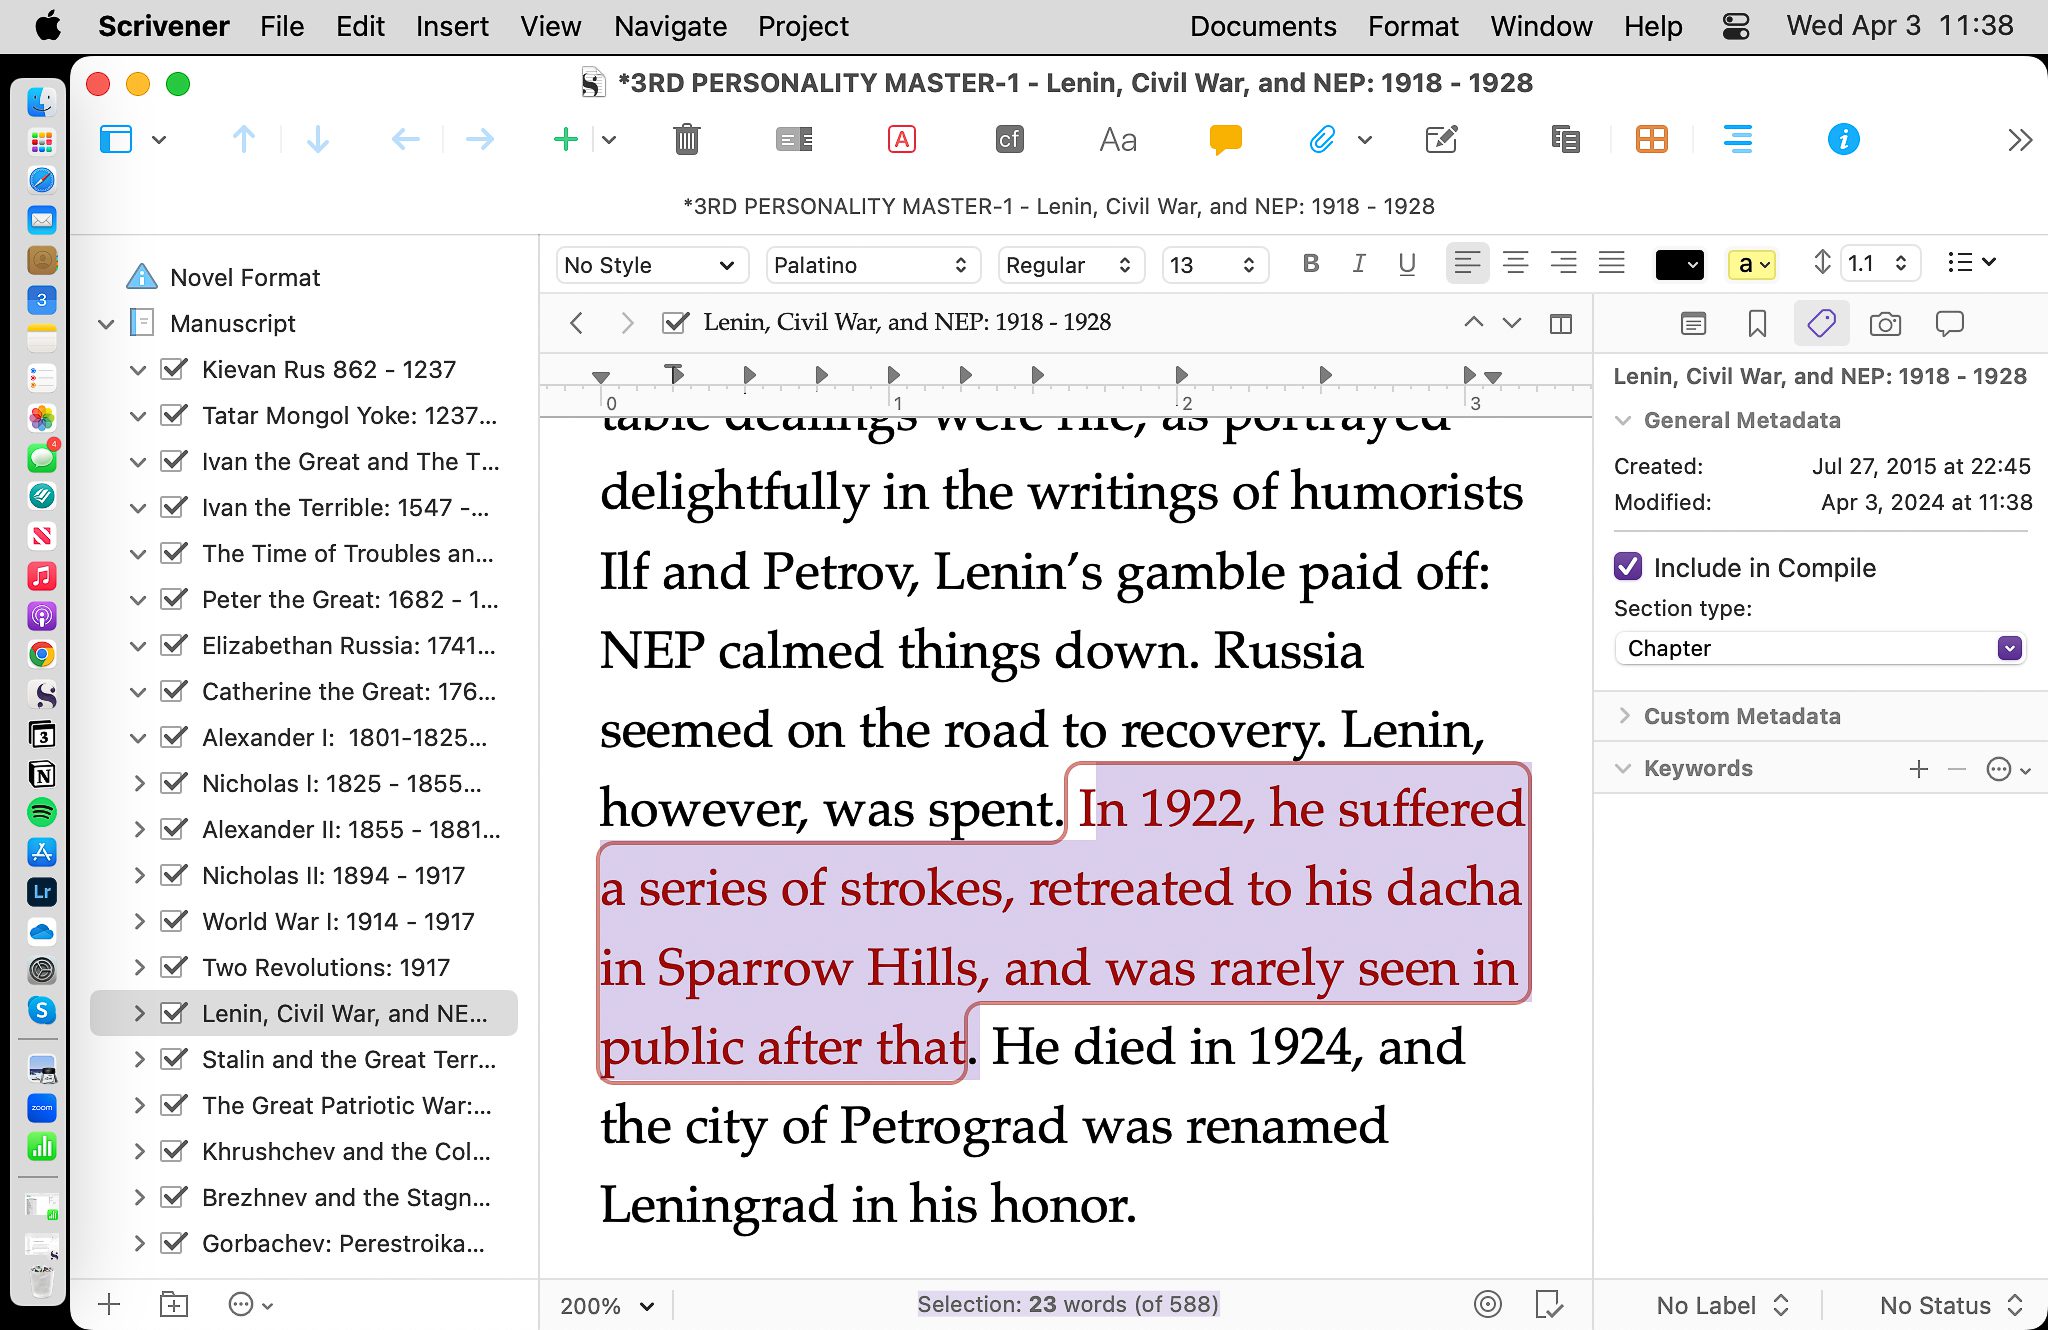
Comments and Footnotes
Formatting footnotes is a breeze in Scrivener: automatically formatted correctly with multiple options of how to list them.
You can also deploy powerful inline annotations as you write, which can provide important reminders or insights to yourself about work that will need to be done later.
Comments are an incredibly useful tool in the editing process, either by the author or an outside editor. They can also be used as a helpful reminder of something that needs to be corrected or amended.
Inline Annotations in Scrivener’s Inspector
How I Plan, Write, Edit, and Compile in Scrivener
Scrivener’s “all-in-one” approach to housing all aspects of a writing project in one program makes for much easier access to my project.
How To Plan a Writing Project with Scrivener
When I get a great idea for a piece or when random inspiration strikes, the first thing I do is open up Scrivener and create a new project, storing it in a folder in my Dropbox account, which automatically backs up all Scrivener projects.
I use the corkboard view in the Editor to brainstorm ideas about the piece I’m going to write.
As I research the topics I want to cover, I drag in web pages into the research binder, and use folders and files to organize them so I can get instant access to them.
I use the character and setting worksheets that come with the novel and fiction templates in Scrivener to make note of all the important details about my characters and their settings.
Once I have my point-of-view characters established, as well as the other stock characters, I use the Inspector’s metadata tagging to establish a dedicated color code for each character. This is then reflected in the Binder, giving me a clear top-down view of which characters are telling the story in each scene.
How to Write in Scrivener
When it is time to write, I switch over to the dark mode and full-screen mode in the Editor, hiding both the Binder and the Editor in full composition mode. This works for me, banishing the page fright I often feel at the outset of a major literary undertaking.
If I need to refer to an earlier chapter, I can restore the Binder, and then hide it again.
When I am writing articles or shorter pieces, I use the same approach to planning and writing, creating a distraction-free environment for composing, but quick access to both the Binder and the Inspector if I need them.
To stay motivated, I use Scrivener’s target function to show me my progress towards my desired word count.
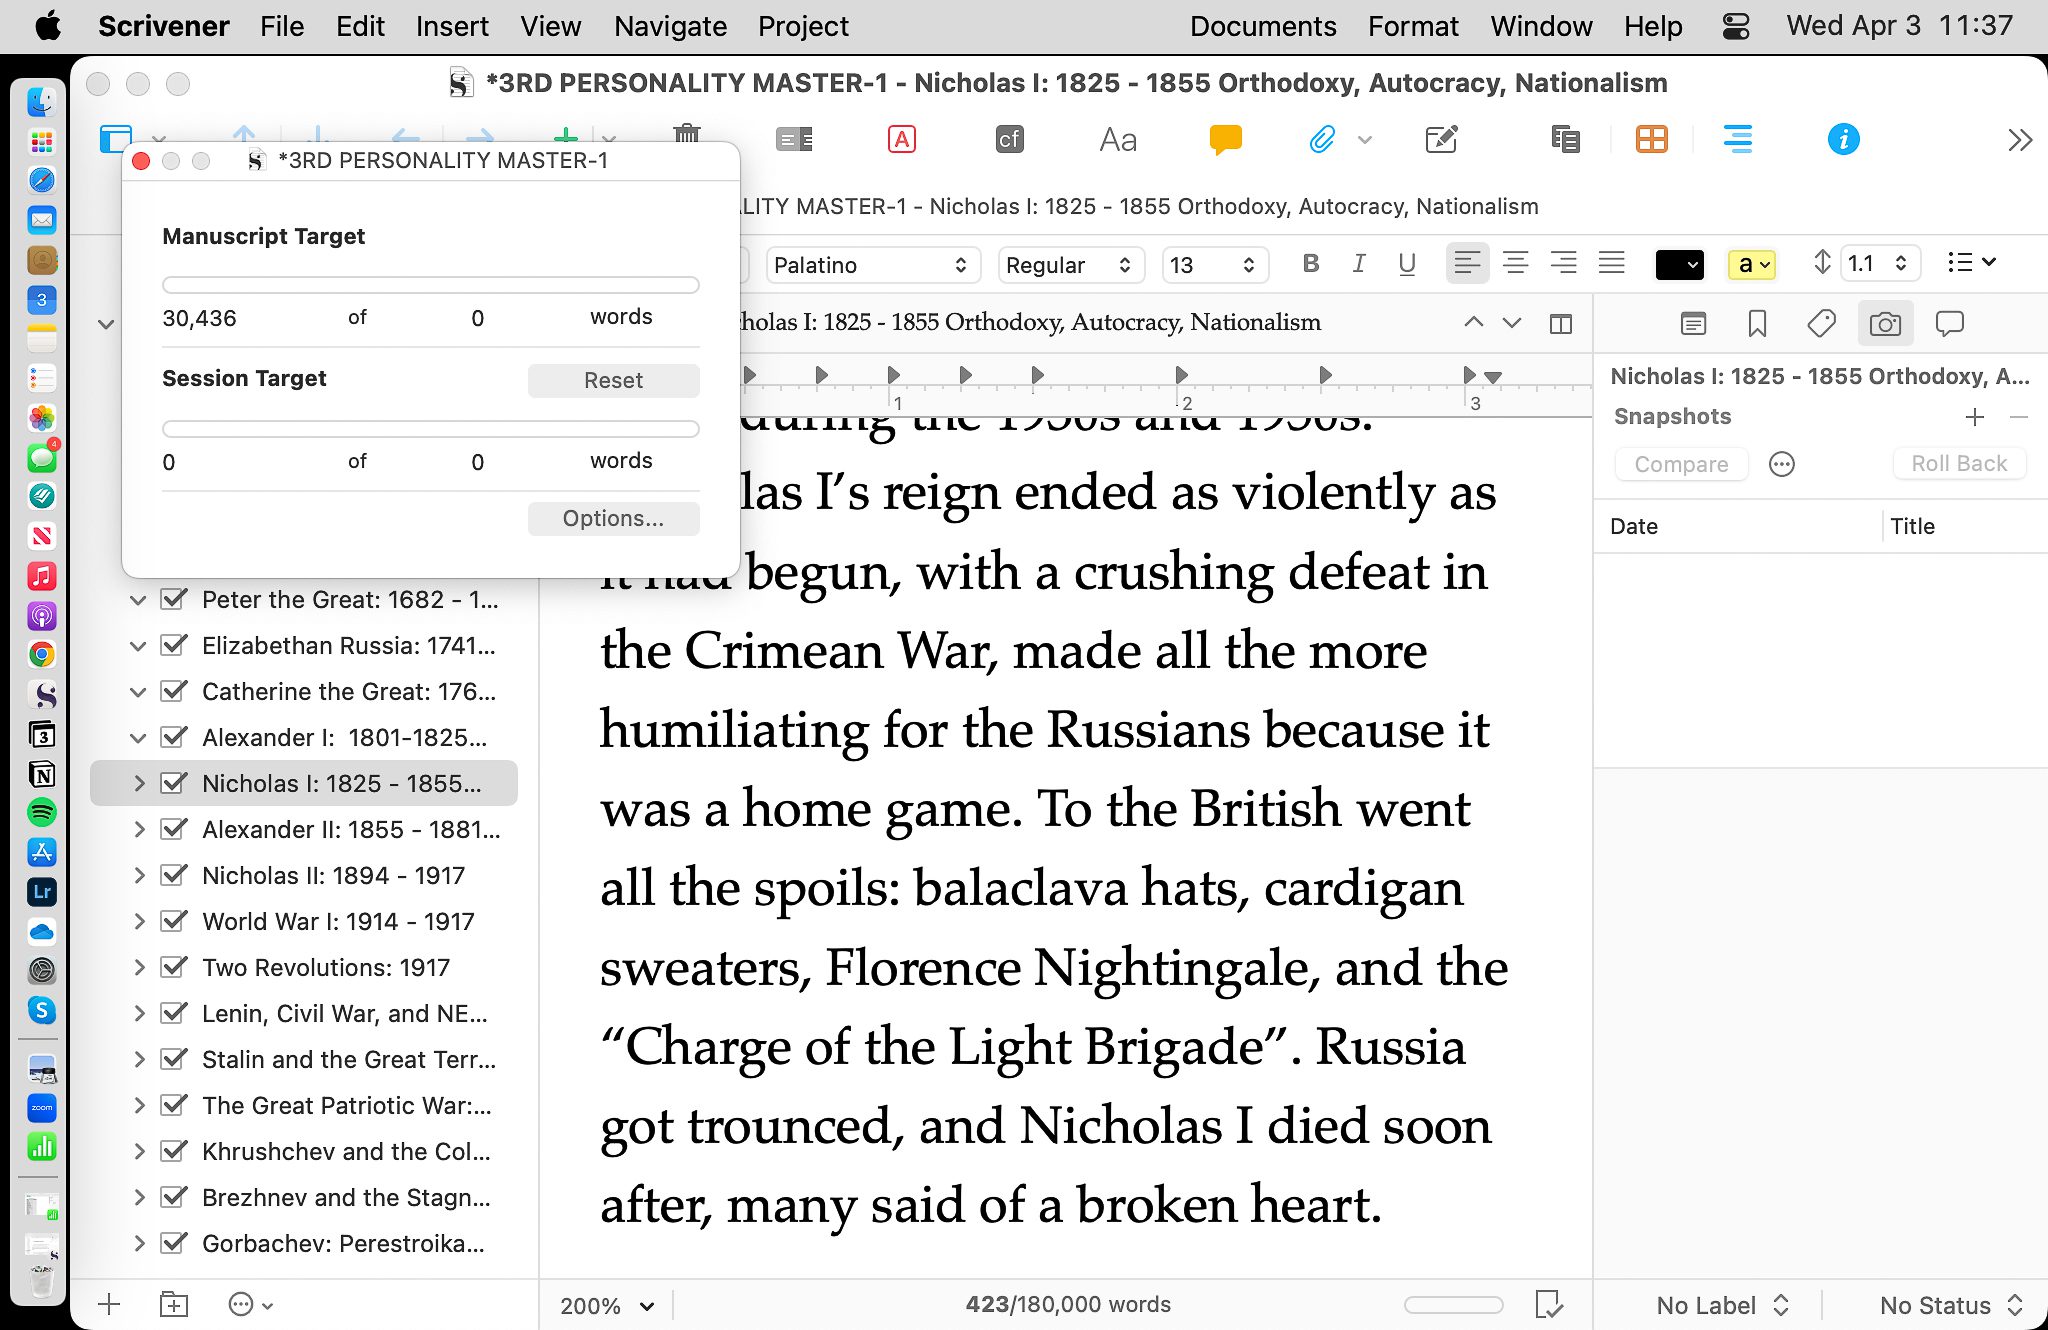
Scrivener’s Target Functionality
How to Edit in Scrivener
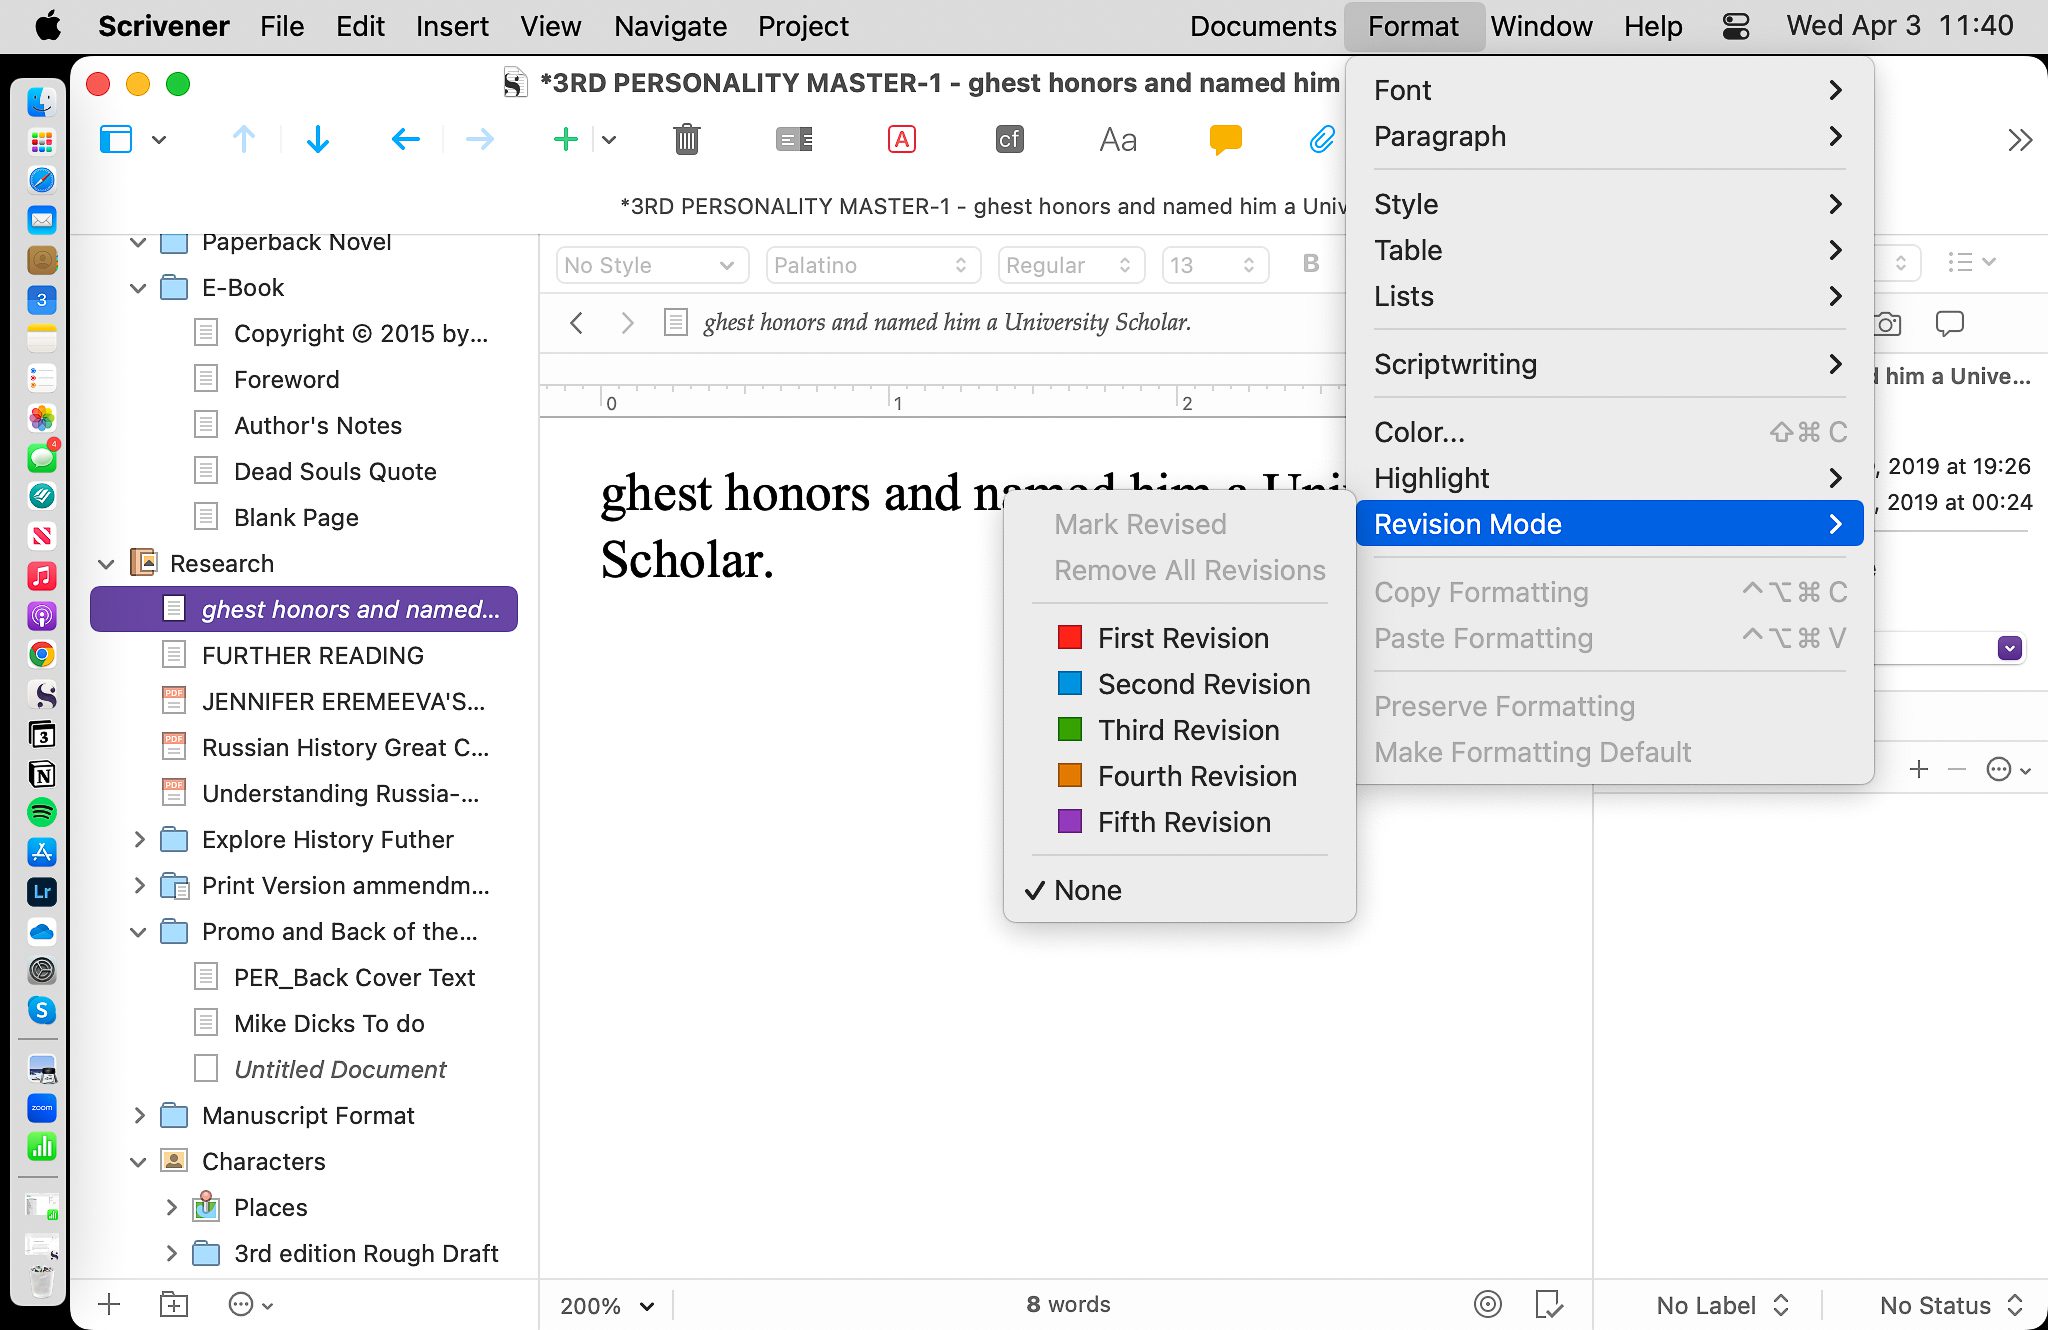
Editing is where Scrivener comes into its own.
To be sure I lose nothing before each revision, I take a snapshot of the entire manuscript. I then go into Revision Mode (Format > Revision > Version) and work on the structure of the piece, its content, and context. Once I’ve gone through several revisions and am happy, I open the Scrivener project in ProWritingAid, my go-to app for editing.
ProWritingAid‘s ability to work inside a Scrivener document drew me to it in the first place, but I’ve since discovered many other invaluable aspects of this powerful software.
ProWritingAid not only corrects grammar, syntax, spelling, and small things such as the second space after a full stop that people my age cannot unlearn, but it also checks for run-on sentences, passive voice, inconsistent verb tenses, and general prolixity.
Once the ProWritingAid edits are done, I give the manuscript a final read-through, and then I’m ready to compile.
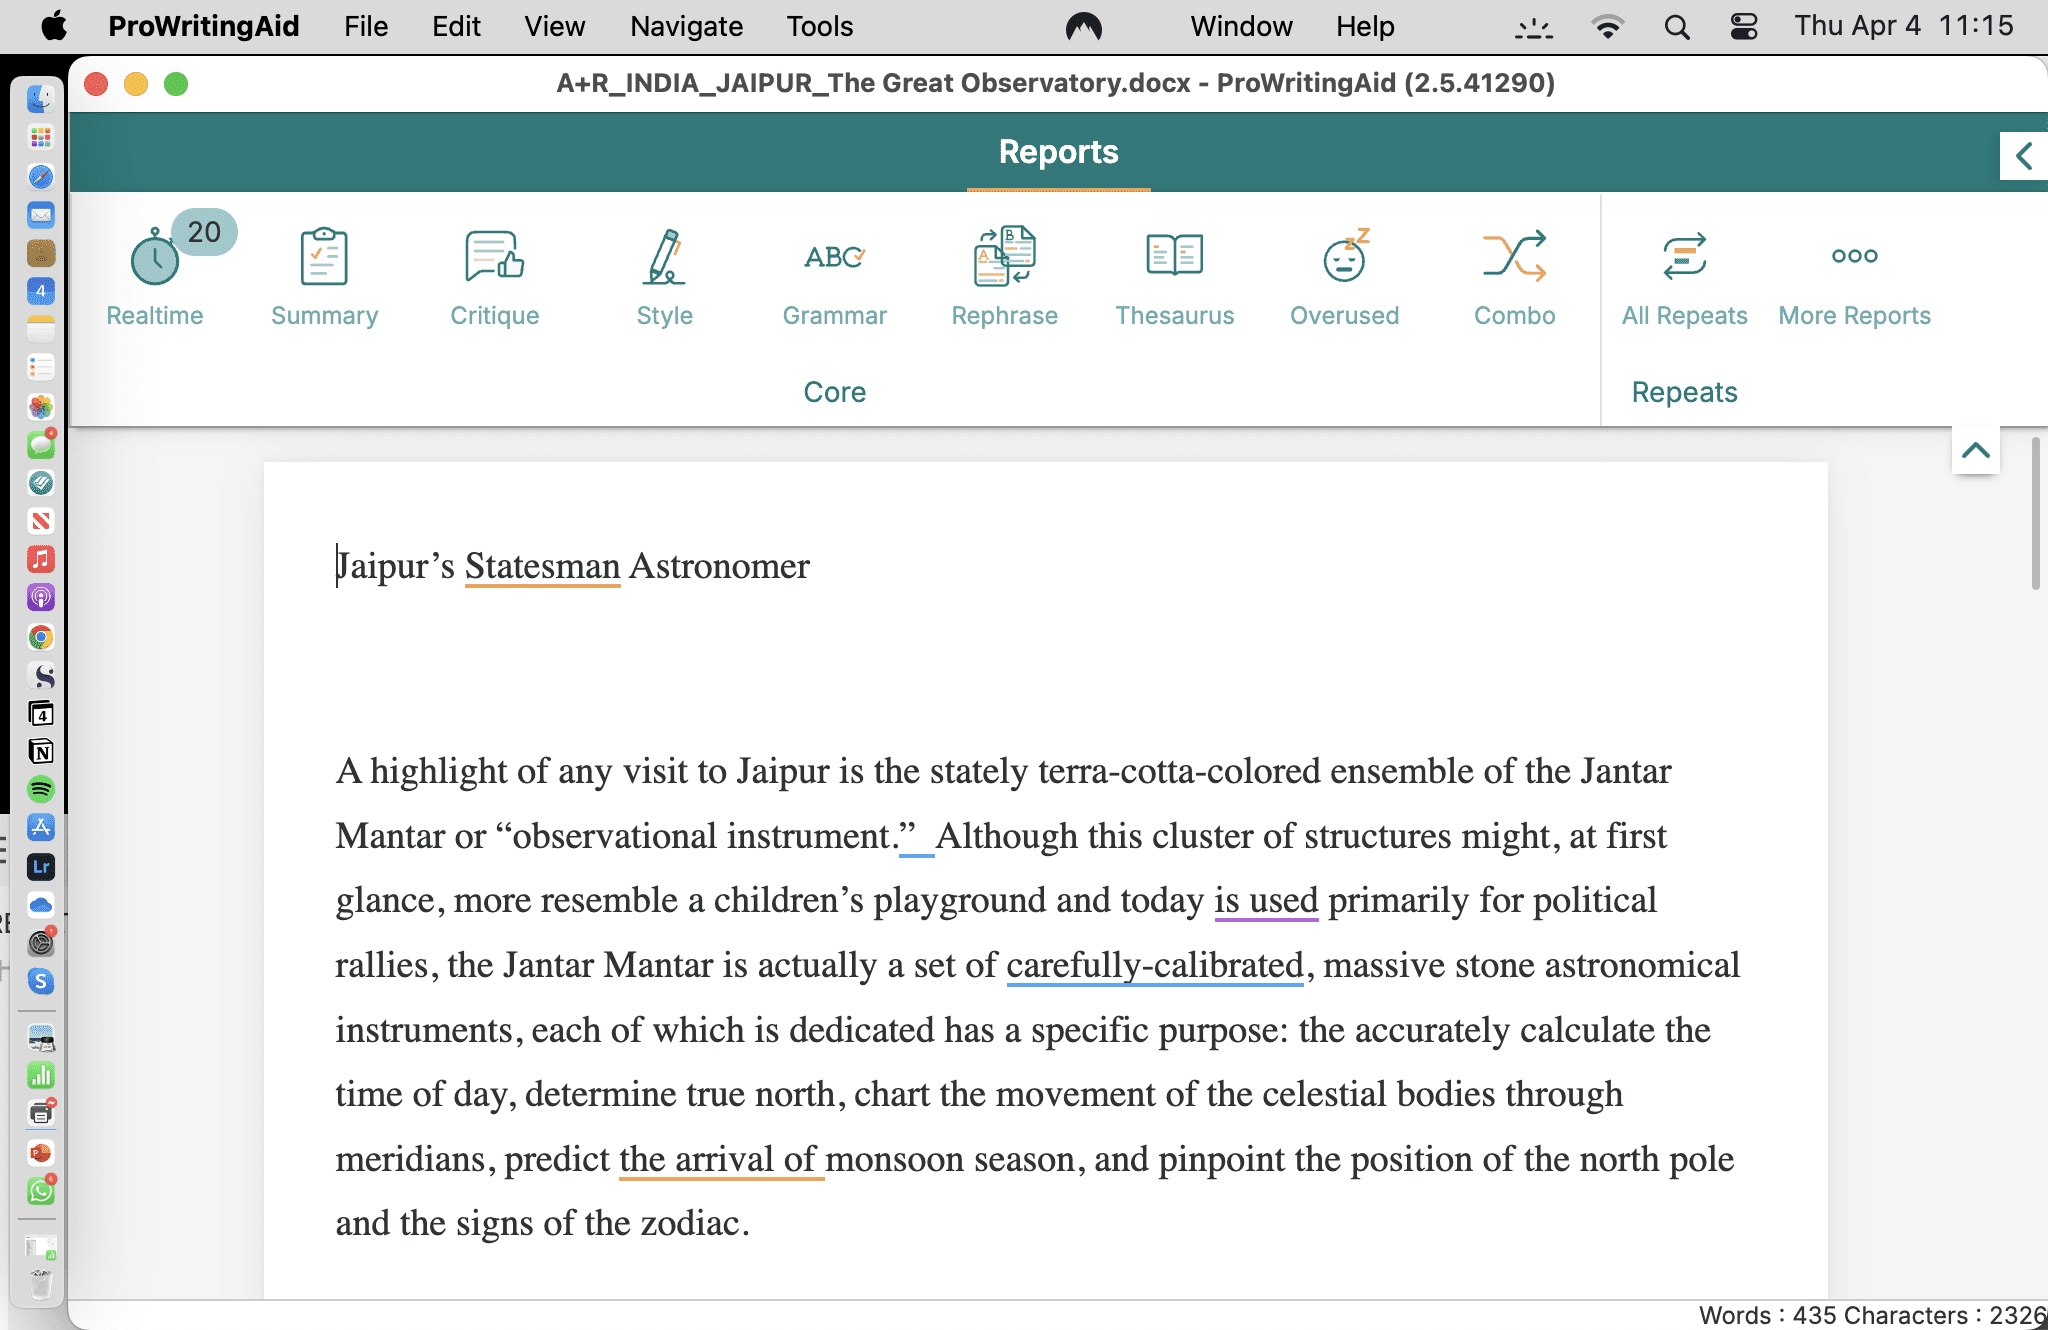
ProWritingAid’s powerful editing software seamlessly integrates with Scrivener
How to Compile a Manuscript in Scrivener
Scrivener’s compiling function allows you to assemble the files and folders in your Binder into different formats from rich text to ePub to PDF documents and HTML for the web.
If you are querying an agent, Scrivener will format your work in progress in an appropriate manuscript style.
If you are self-publishing an ebook, Scrivener will format your work in progress into the correct format to upload to one of the ebook platforms, or Vellum, my favorite software for formatting digital and print books.
Once you’re done compiling your document, be sure to save the Scrivener project. You may wish to return to it to update the piece, and you will be delighted to find all of your research, revision versions, and original text right there, all in one place, waiting for you.
How Scrivener Changed My Writing Life
My writing life completely changed after I mastered Scrivener.
Today I use it for almost all of my writing projects, including articles, features, blog posts, longer research projects, and fiction and non-fiction books. The images in this post are from my pocket Russian history book, Have Personality Disorder, Will Rule Russia, which I wrote in Scrivener.
I also use Scrivener to outline and write my bi-monthly newsletter, Destination Curation, which covers the culture, cuisine, and history of major cruise destinations.
Moving between the sections of the Binder remains far more efficient than scrolling through a lengthy WORD document. Although my writing project will ultimately compile into a single document, having the ability to jump around effortlessly between files and folders makes all the difference as I am bringing my manuscript to life.
Having everything I need in one Scrivener project saves me so much time: I know where to find everything within seconds!
When I am in planning mode and can view the index cards, I have a much better sense of how to structure the piece I’m working on, and I spend less time writing and rewriting an outline: my synopses in the Inspector keep me focused on the flow of my writing.
New users may find Scrivener takes some time to master, but this is time very well spent. Literature and Latte, the makers of Scrivener provide lengthy tutorials for new users for both the Mac version and for Windows users, including step-by-step instructions on how to compile documents into the most popular formats.
Have you tried Scrivener? How did it change your writing process?